Frank Manley Builds the CABBS Optimist
CABBS Optimist Construction Photos

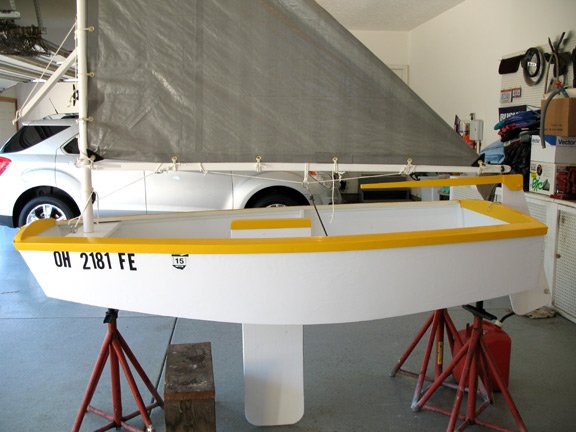
Long-time, big boat sailor, Frank Manley, built a strong, trim Opti using the CABBS Optimist plans and materials sourced at his neighborhood home center.
He photographed his progress and donated a set of photos to show ‘thinking-about-it’ builders how the boat goes together.
The photo portfolios below cover all the major steps involved with the build. A careful review can answer many questions.
Materials and Tools
 The boat came together using pine lumber, ¼” douglas fir marine plywood, exterior coated deck screws, construction adhesive and house paint.
Although Frank’s well equipped shop is the building location, the number of necessary tools is quite small.
The boat can be built using a hand saw, drill and bits, screwdriver, chisel, caulking gun, hand plane and a number of clamps. Access to a table saw would make cutting a few jig bevels much easier.
An Ideal Project, An Ideal Boat
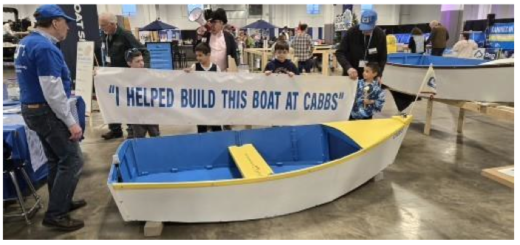
The simple construction, common hand tools, and easily obtained materials, make the CABBS Opti an ideal project for a young person working side-by side or under the guidance of an adult.
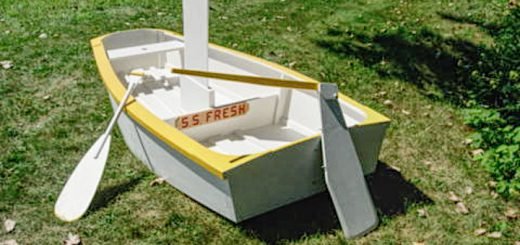
 Not only is the building process very satisfying, the result is a fun, stable, little sailboat. It’s a great sail trainer that with care, can last many years.
Frank Manley found the CABBS Opti plans to be clear and complete.
Studying the plans, reviewing the building photos, and taking a little at a time goes a long way to ensure trouble-free progress.
Frank’s advice? “Go for it, it’s lots of fun!”
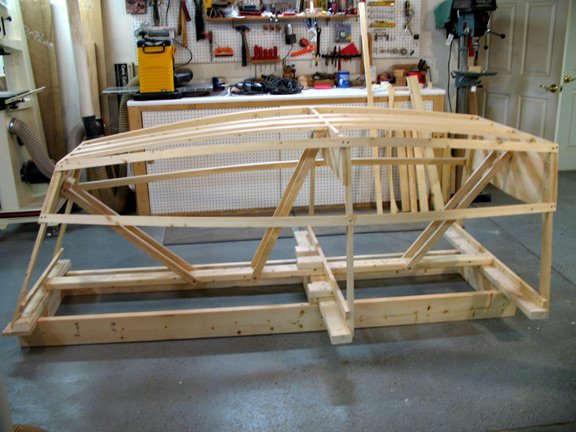
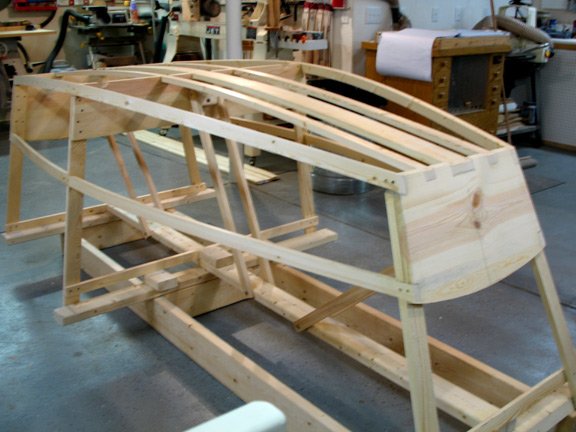
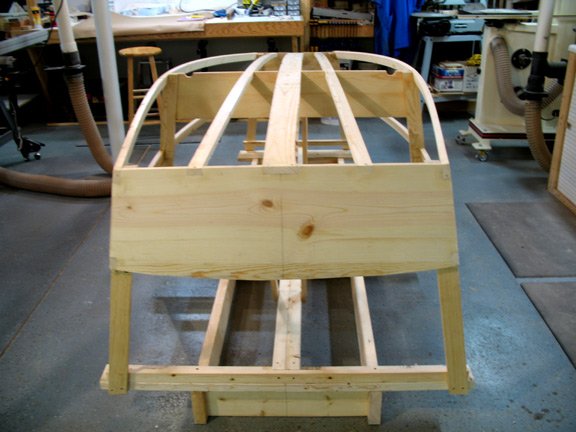
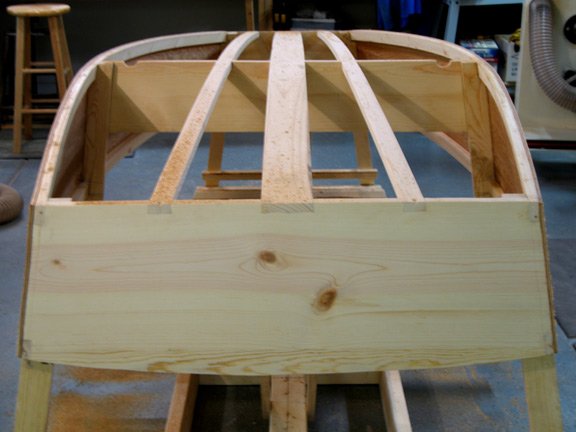
Framing Construction Portfolio
-

- Note: As you build, rough cut all pieces to be a few inches longer in length. Once mounted, trim them back flush with the transom faces.
-
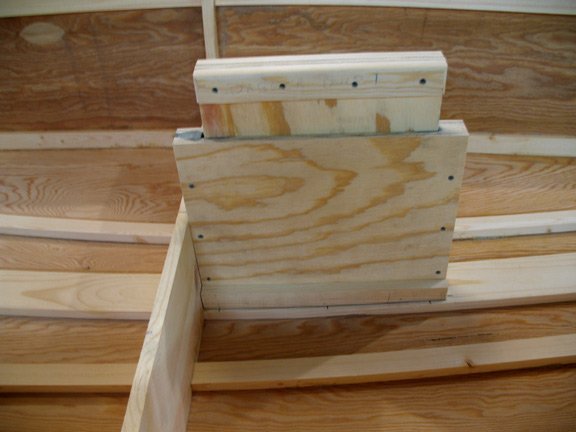
- Note: Drill with care so framing pilot holes are parallel to the transom faces.
-
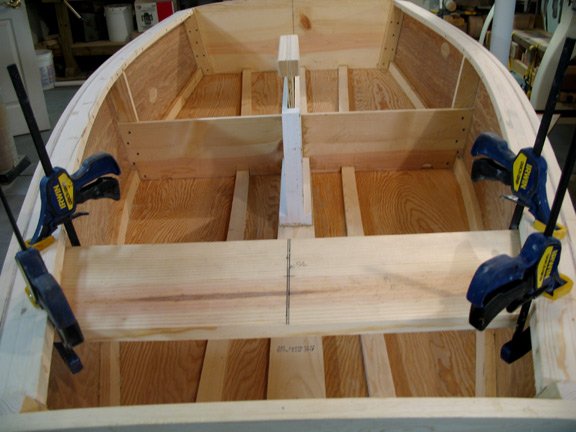
- Note: Although the stringers look nearly parallel in these photos they actual flair out somewhat toward the sides of the boat.

-
- Note: It will take some muscle to bend the keelson and stringers into place. Look over your lumber carefully to select the most straight-grained pieces for easier bending and less chance of cracking.
Panels Portfolio
-
- Note: Cut panels over-size and once glued in place, trim to final size.


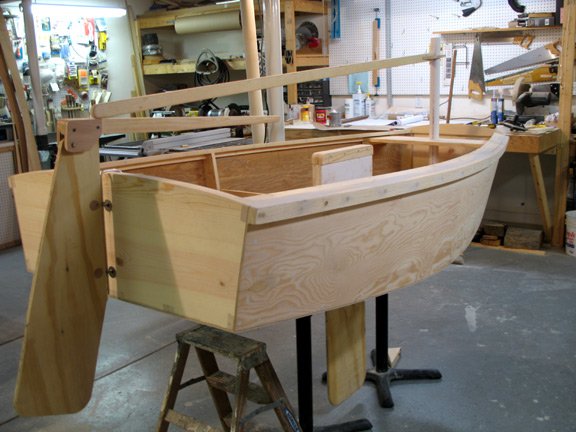
-
- Note: Once the glue cures on the topside panels, the panels are trimmed down and the outer edge of the chines are beveled using a hand plane. The flat of the chines aligns with the stringers to create a flat surface for the bottom panel.


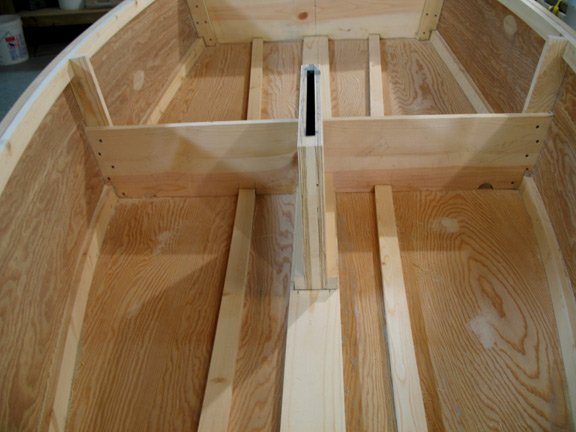
Finishing the Hull Portfolio


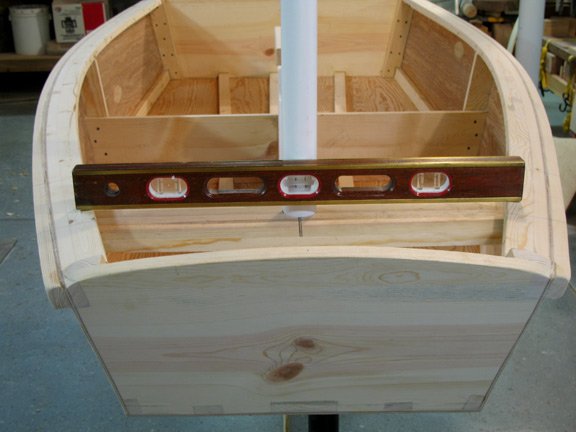
-
- Note: Before the partner is attached, the mast step is attached to the keelson. The boat is then leveled and the plumb of the mast tested and proofed before screwing home the partner.